- Understand what SprintPass reservations do
- Meet the requirements before you begin
- Create a reservation step by step
- Generate and share your Pickup Number (PKU)
- Update, reschedule, or handle rejected reservations
SprintPass allows you to schedule pick-up and drop-off visits in advance, helping reduce wait times at the cargo facility compared to walk-in customers. You can also track your reservation status in real time and receive priority service over walk-ins.
This guide walks you through the SprintPass reservation process and ensures you provide all required information for a smooth experience.
For questions or issues with a reservation, contact CargoSprint at cargosprint.com/contact-us or email support@cargosprint.com.
To make a reservation, you must have a SprintPass account.
If you are a new user, visit cargosprintpass.com/sign-up and enter your email address. You will receive an email with instructions to complete your account setup — simply follow the link provided.
Currently, reservations cannot be made through the SprintPass for Drivers app. Use the web platform to create a reservation.
- 1
Sign in to your account
Go to cargosprintpass.com/login and sign in to your SprintPass account.
- 2
Start the reservation
Select the Create button to start the reservation. Choose an airport, find the cargo facility, then select cargo type, service type, and priority.
- To change the airport, use the Select an airport dropdown.
- Enter the cargo handler's name in the search bar to view the available cargo facilities.
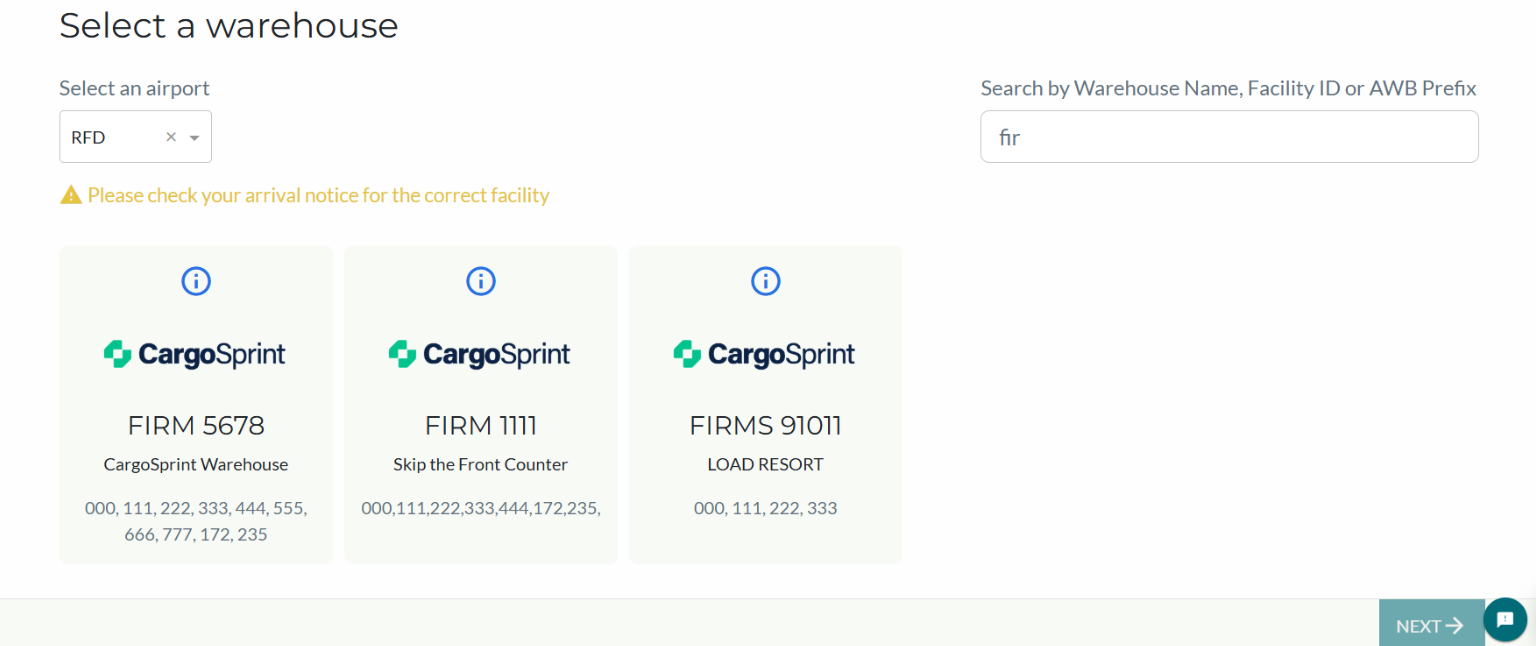 🔍 Click to zoom
Select a warehouse screen with airport dropdown and facility search - 3
Enter trucker details
Include the trucker information. If another company handles the shipment, select Other and enter their information.
Add all recipient emails to be kept informed of the reservation progress under Notification emails, then select Add email.
- 4
Include shipment information
Provide all mandatory information required by the facility for each AWB, including documents, weight, and number of pieces.
ℹ️NoteRequirements may vary by facility.
- 5
Select a time slot and check in
Choose an available time slot, review the reservation summary, and click Check-in.
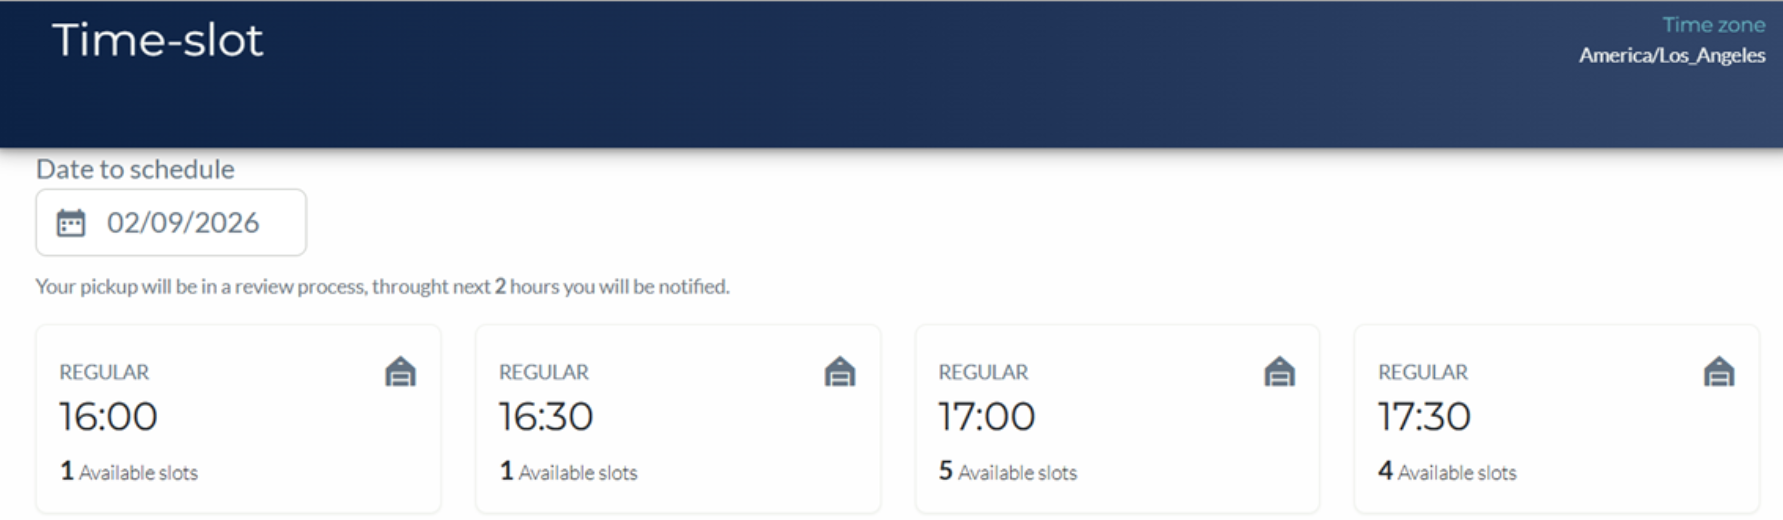 🔍 Click to zoom
Time-slot selection screen with available appointment times - 6
Get your Pickup Number (PKU)
SprintPass generates a confirmation Pickup Number (PKU) tied to the reservation details.
Save this information for your records and share it with the corresponding driver, as the PKU will be needed later.
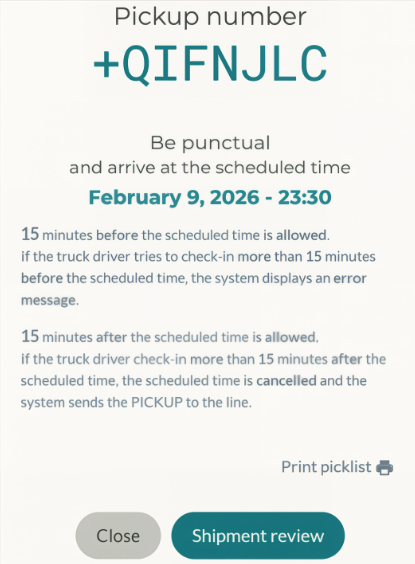 🔍 Click to zoom
Generated Pickup Number (PKU) with reservation details - 7
Update information (if needed)
Before approval, click the corresponding PKU on the Shipment review page to update editable shipment fields marked with the pencil icon.
After approval, you can request an appointment reschedule, which may be accepted at the discretion of the facility.
If your reservation is rejected or information is missing, you will be notified by the facility via email.
The facility reserves the right to reschedule or reject a reservation.